一、Nginx安装—Windows
1. 下载解压
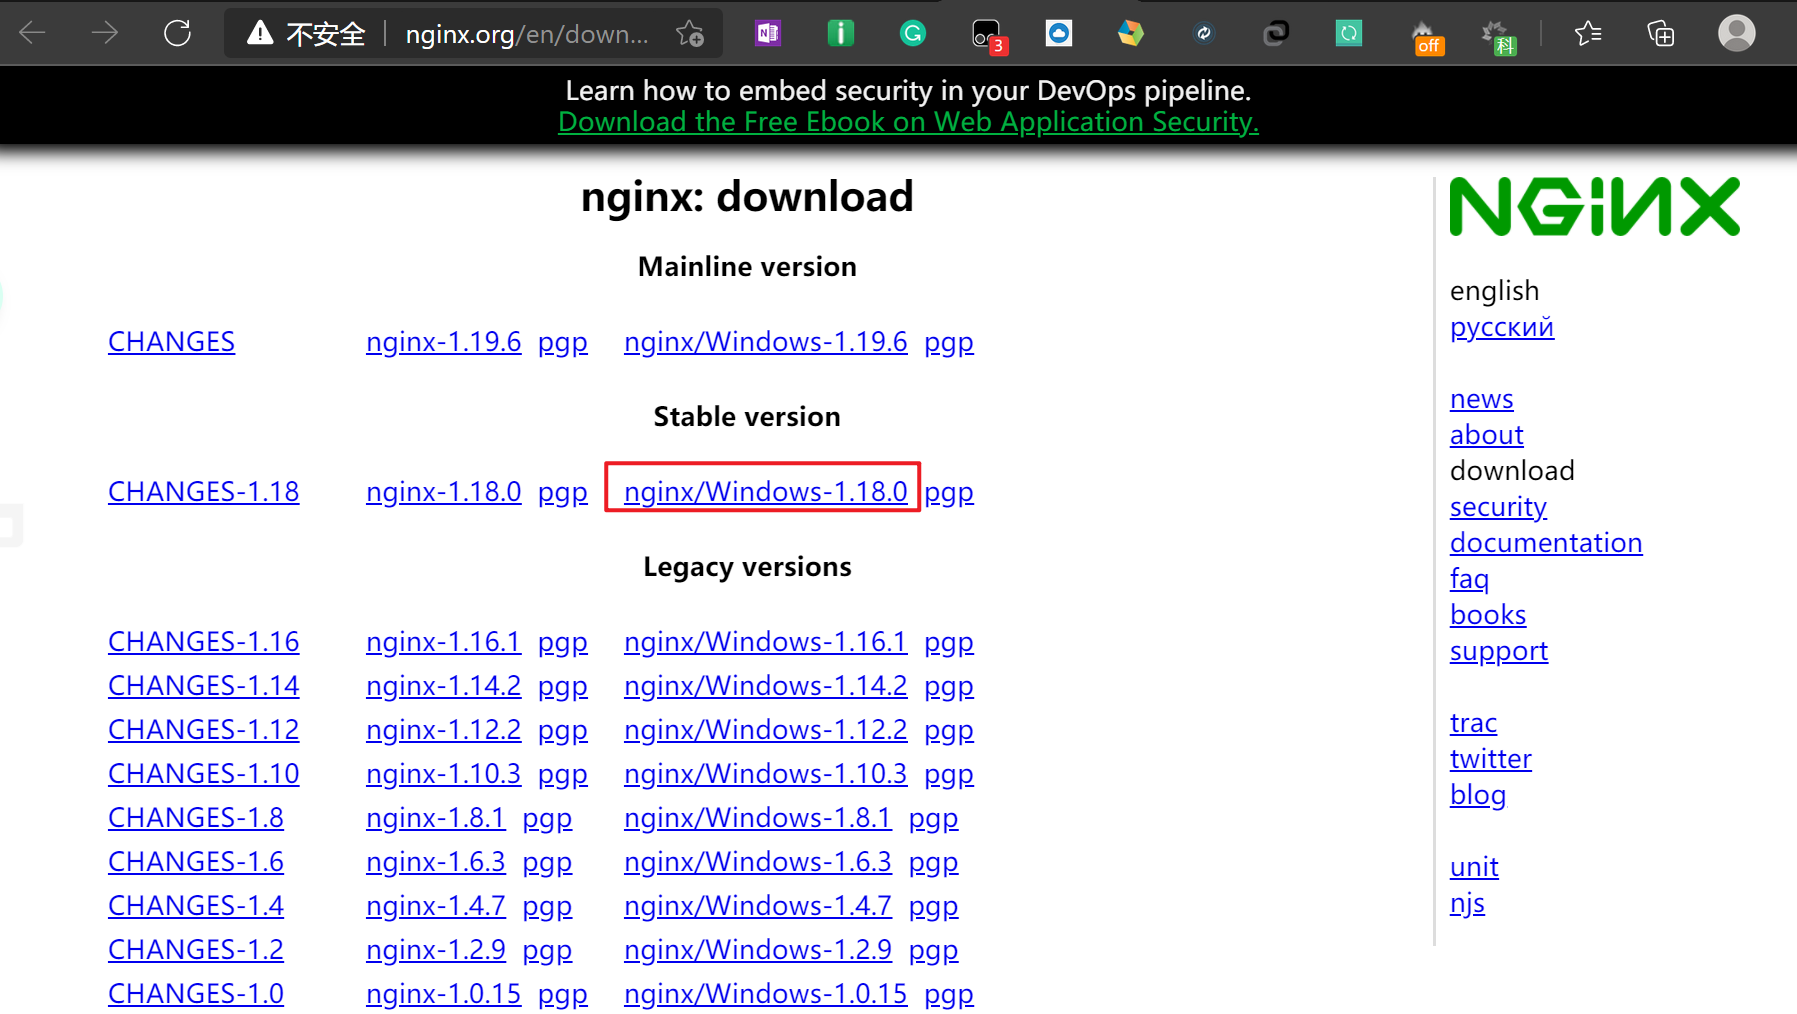
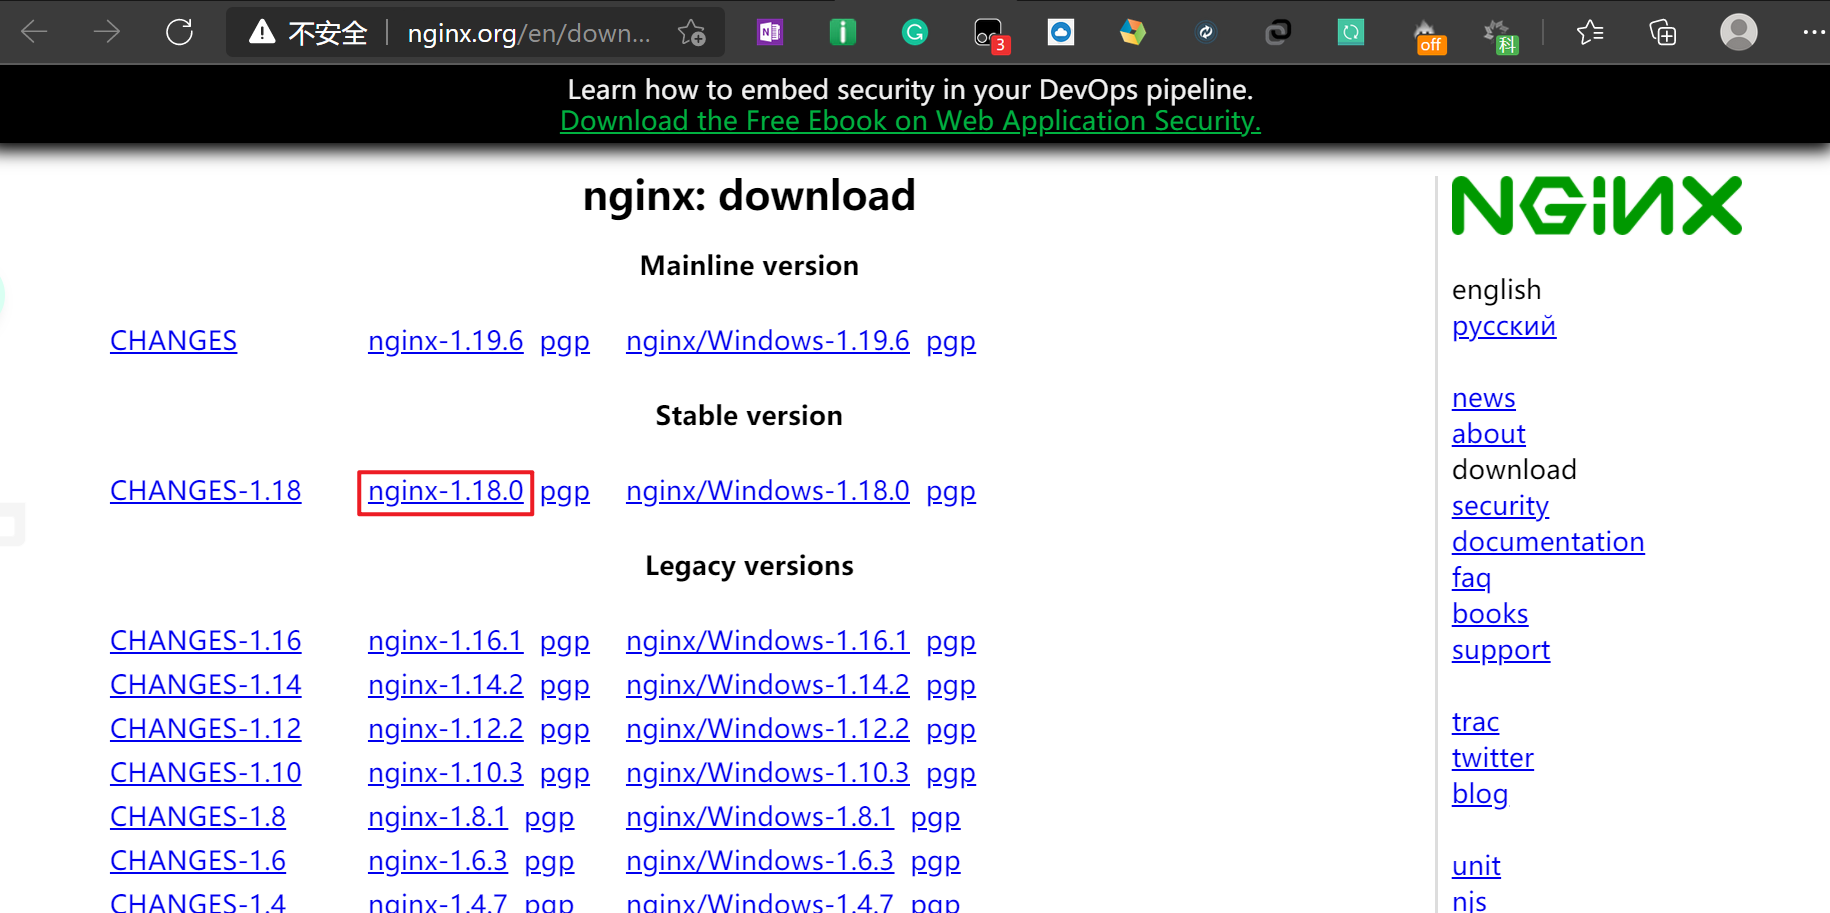
下载地址
:
http://nginx.org/en/download.html
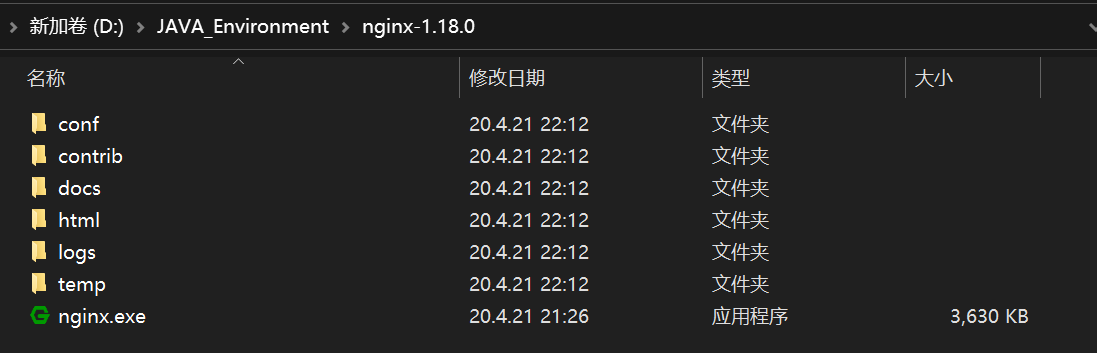
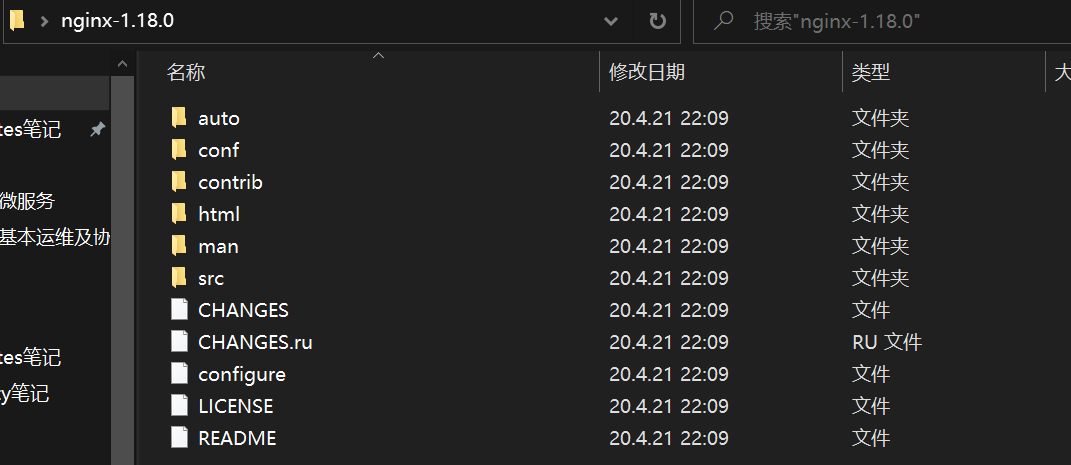
下载完成后解压,解压后如下图所示
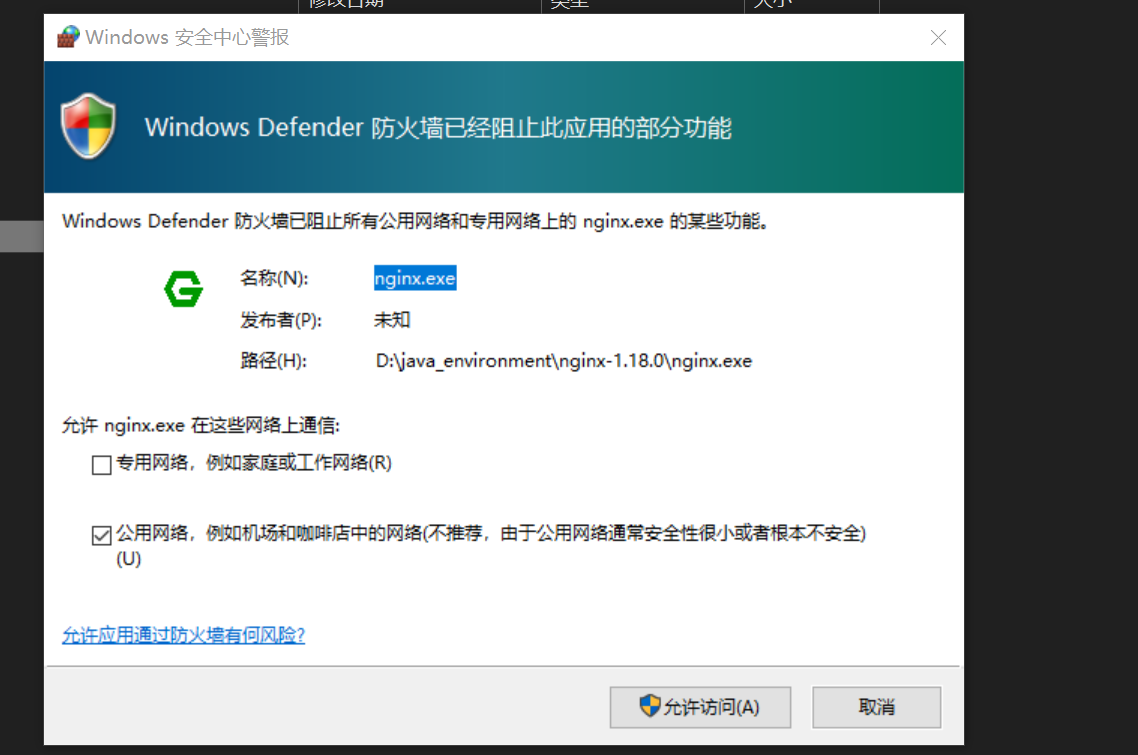
2. 启动
有两种方法启动
Nginx
1. 双击
nginx.exe
2. 命令行启动
nginx.exe
,回车即可
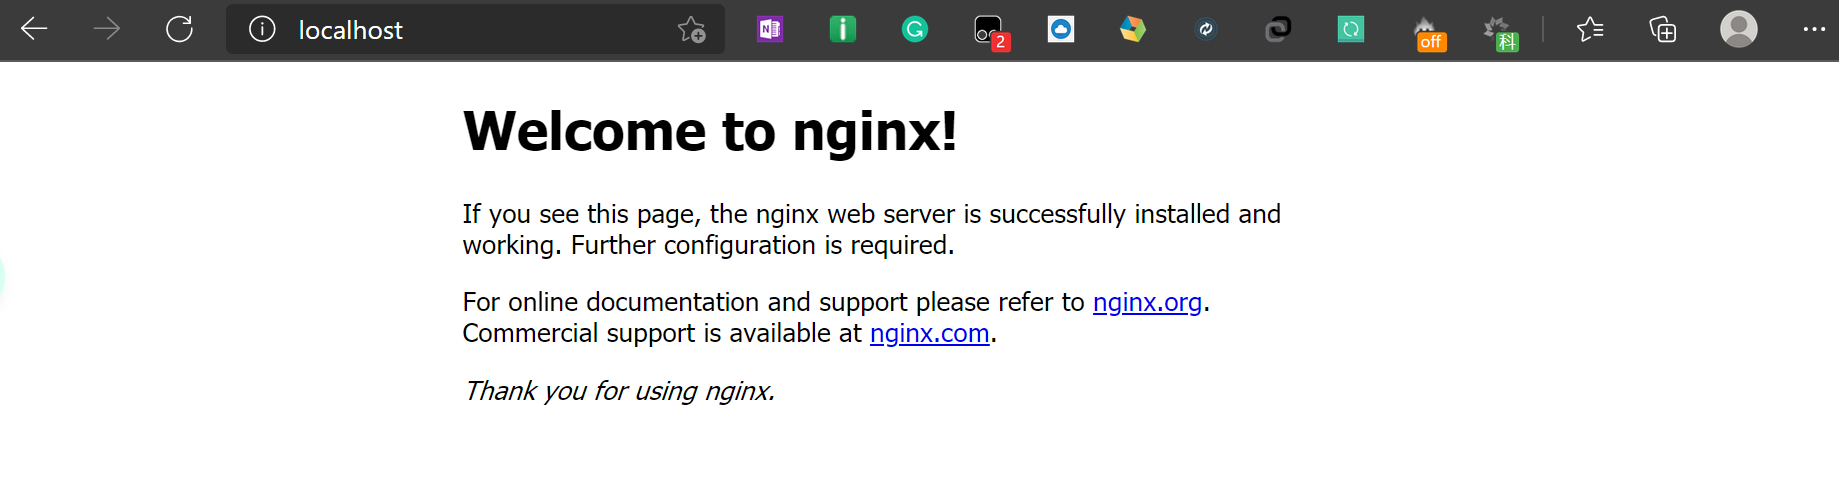
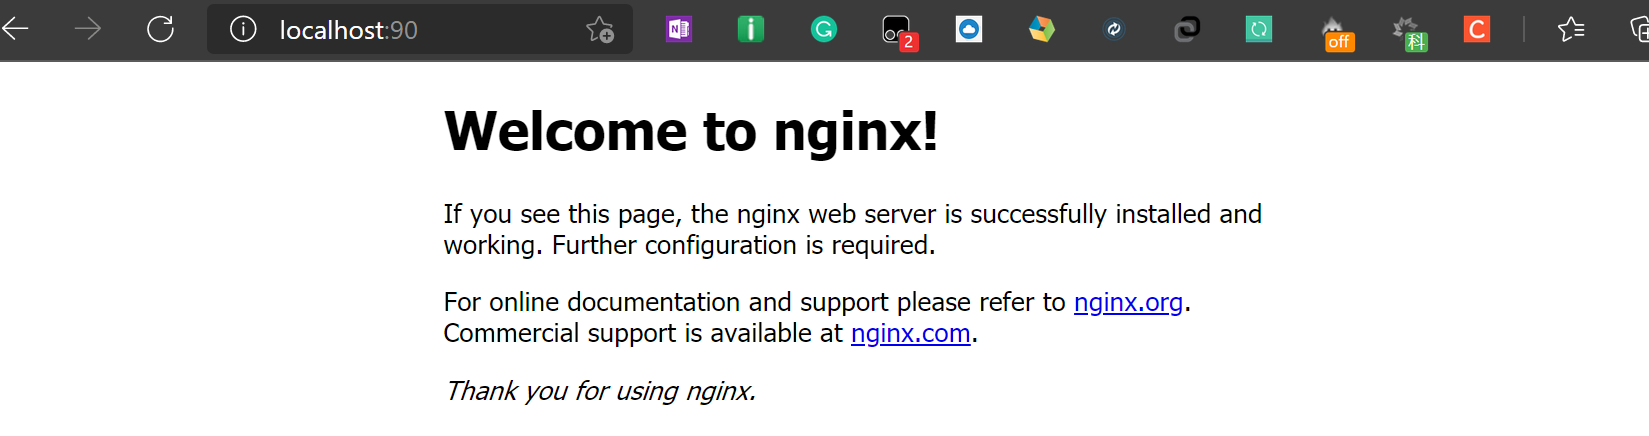
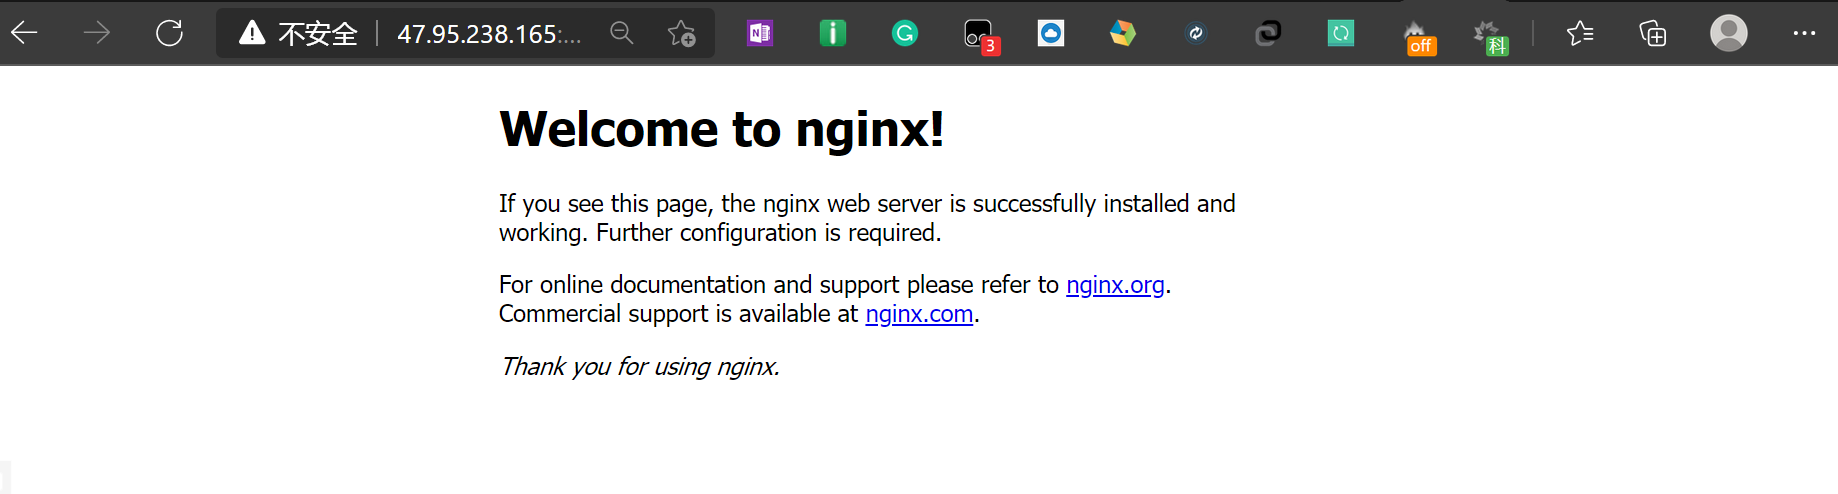
3. 测试是否启动成功
直接在浏览器地址栏输入网址
http://localhost:80
回车,出现以下页面说明启动成功!
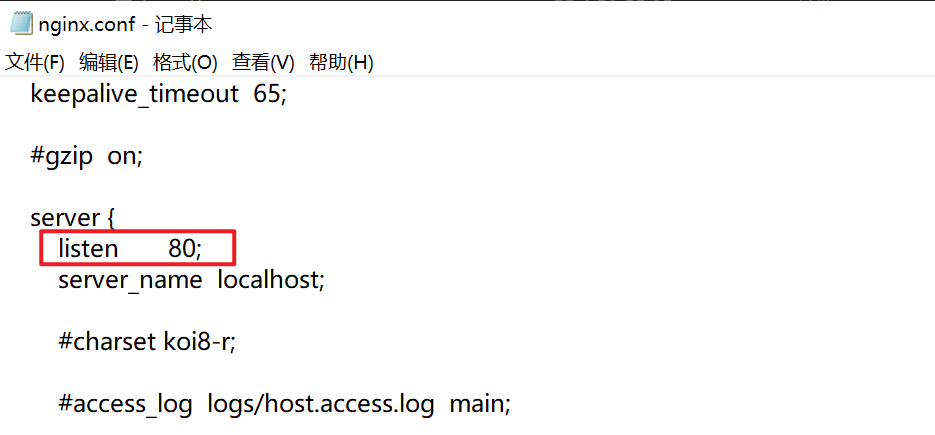
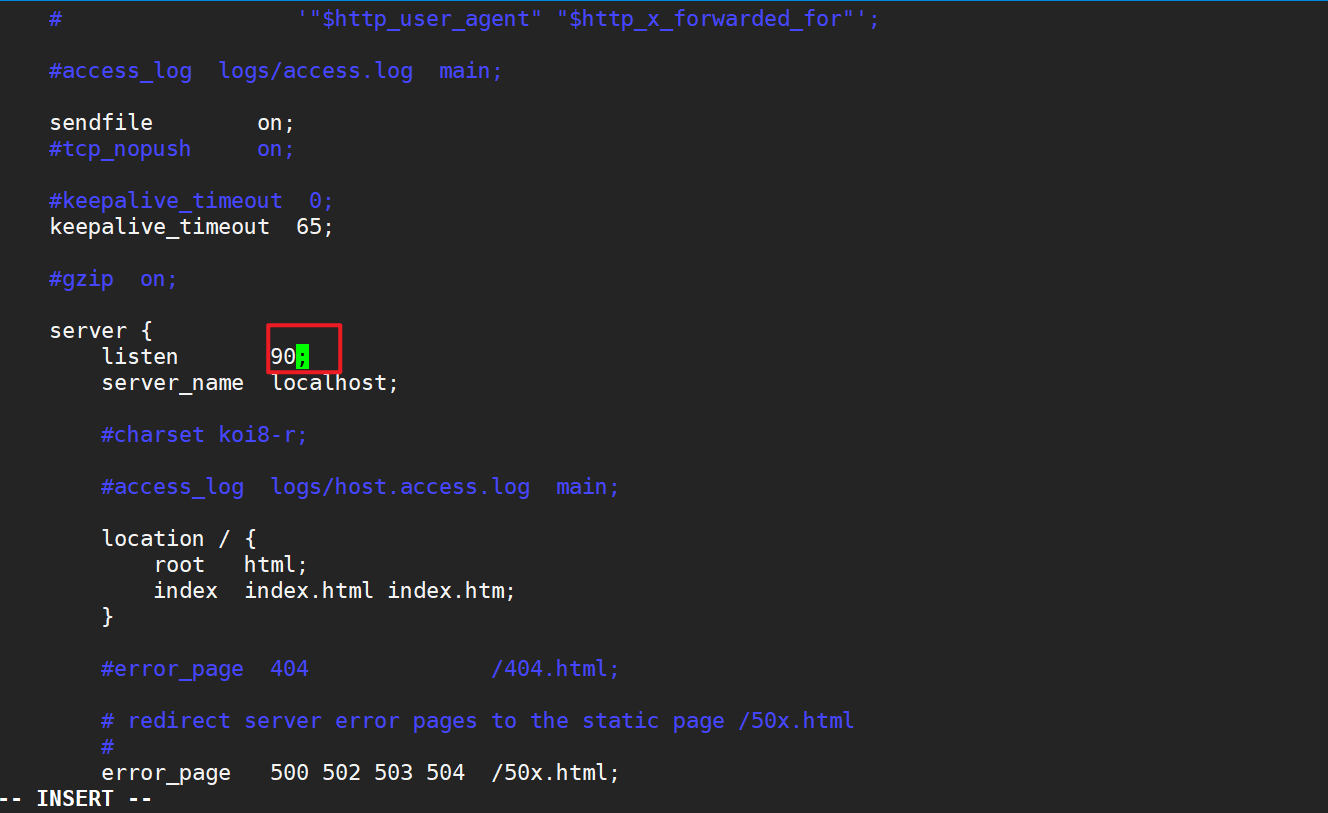
4. 配置监听端口
nginx
的配置文件是安装目录中
conf
目录下的
nginx.conf
,默认配置的nginx监听的端口为
80
,如果80端口被占用可以修改为未被占用的端口。
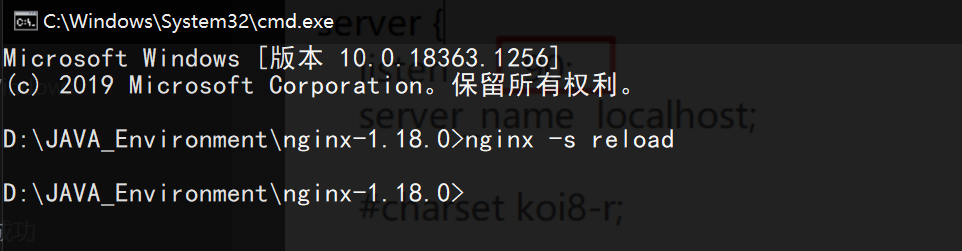
nginx -s reload
即可让改动生效
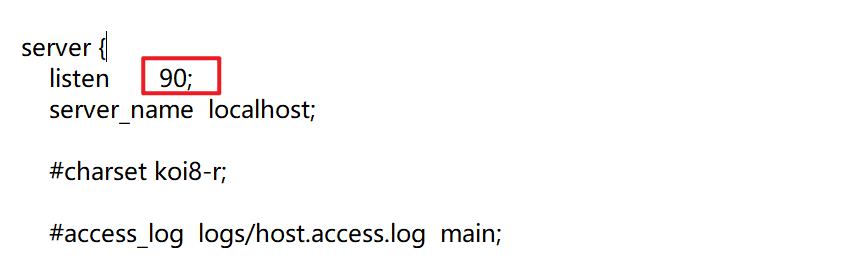
比如这里修改为
90
端口
cmd
,切换到安装目录,输入以下命令即可
nginx -s reload
90
端口即可进入
nginx
二、Nginx安装—Linux
环境
:阿里云CentOS7个人服务器
1. 下载解压
下载地址:
http://nginx.org/en/download.html
下载完成后解压
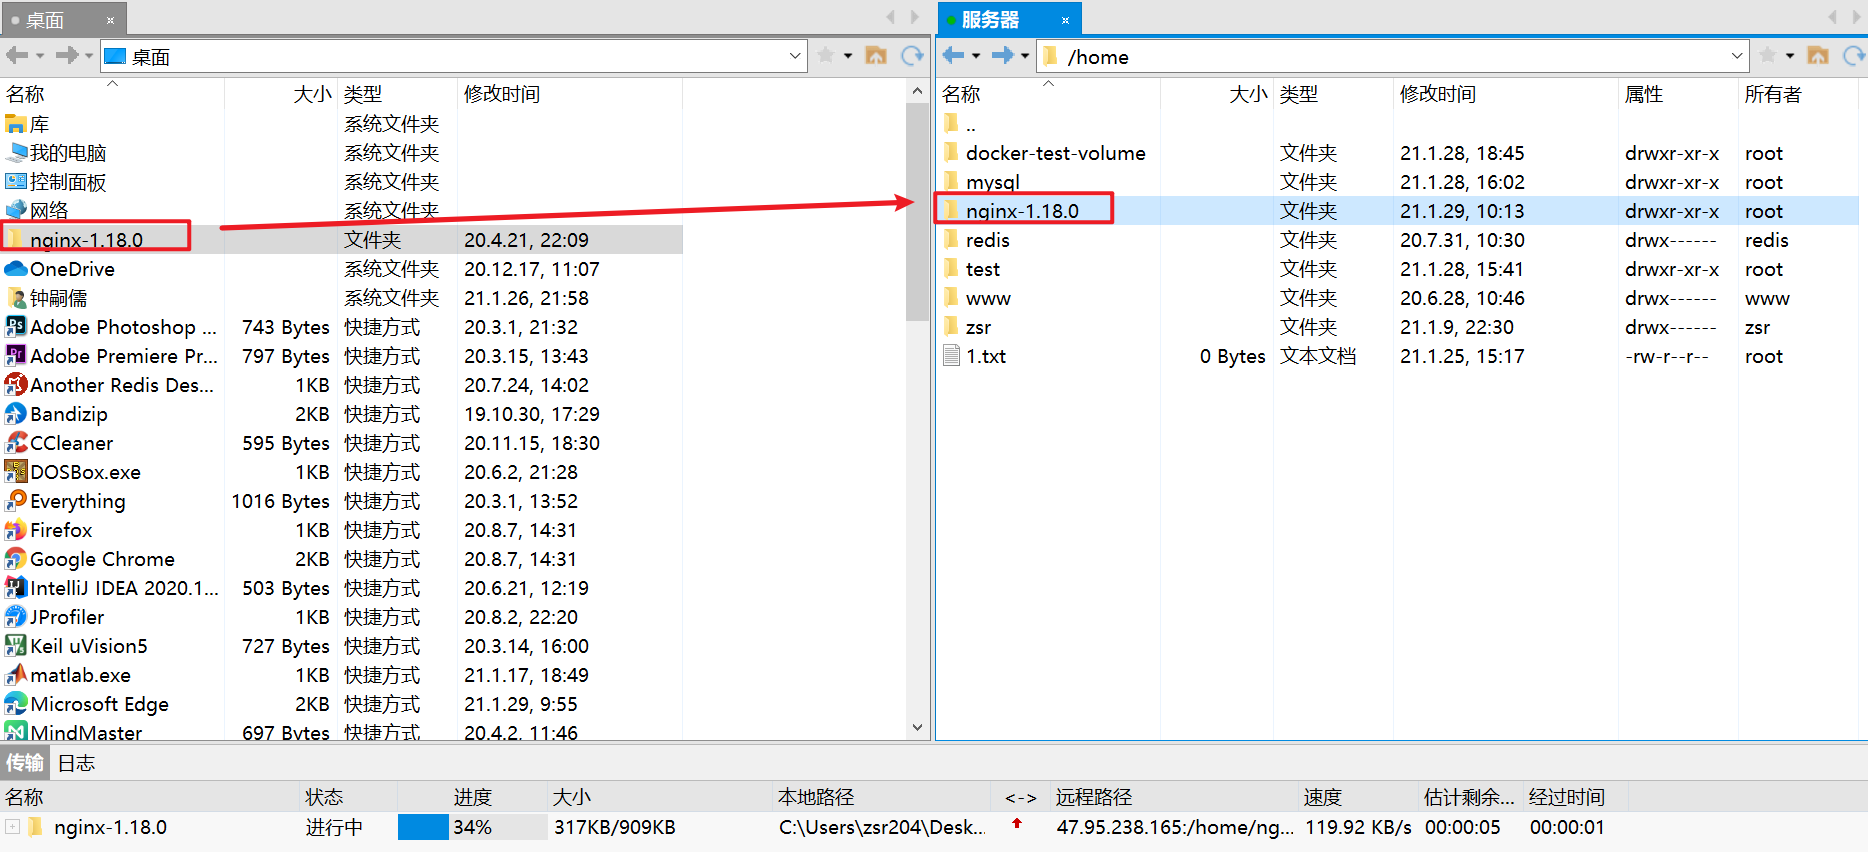
2. 上传到服务器
这里利用
xftp
客户端,将前面下载完成的压缩包上传到服务器的
/home
目录
3. 配置
第一步:
./configure
可以看到有一个
configure
文件,我们通过这个进行默认的配置,执行以下命令
./configure
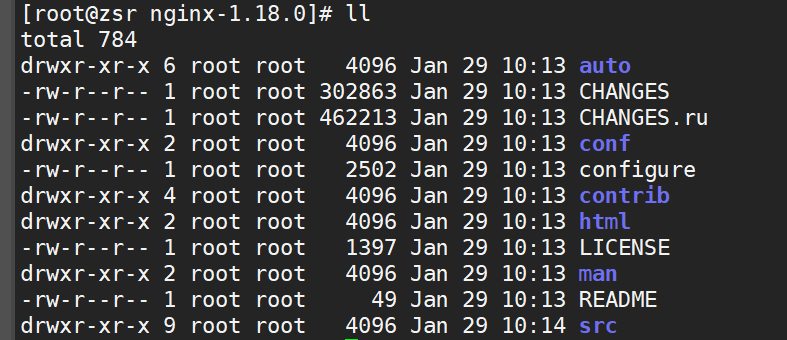
ll
命令可以看到目录中的详细信息
configure
文件没有可执行的权限,我们要赋予其权限
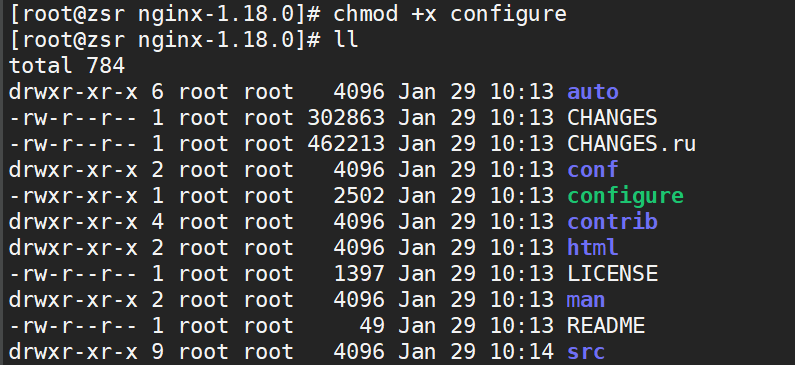
chmod +x configure
赋予权限后,再用
ll
命令查看,可以发现
configure
变绿,已经有了执行权限
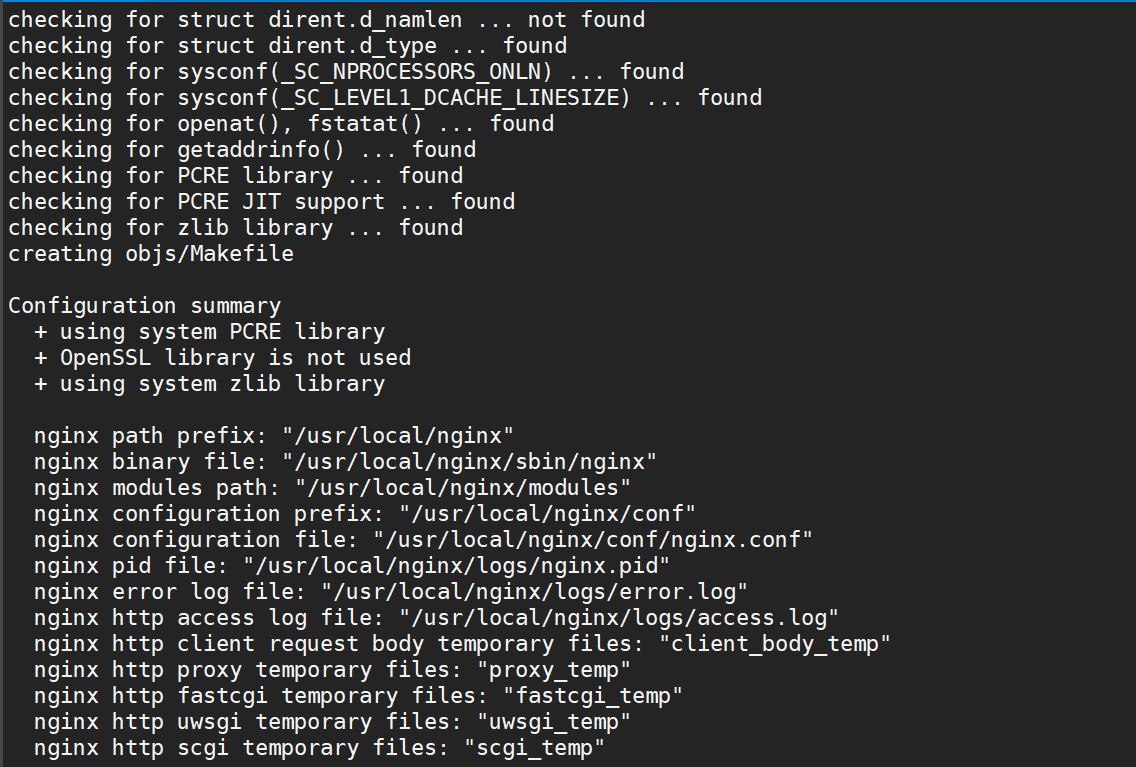
./configure
第二步:
make
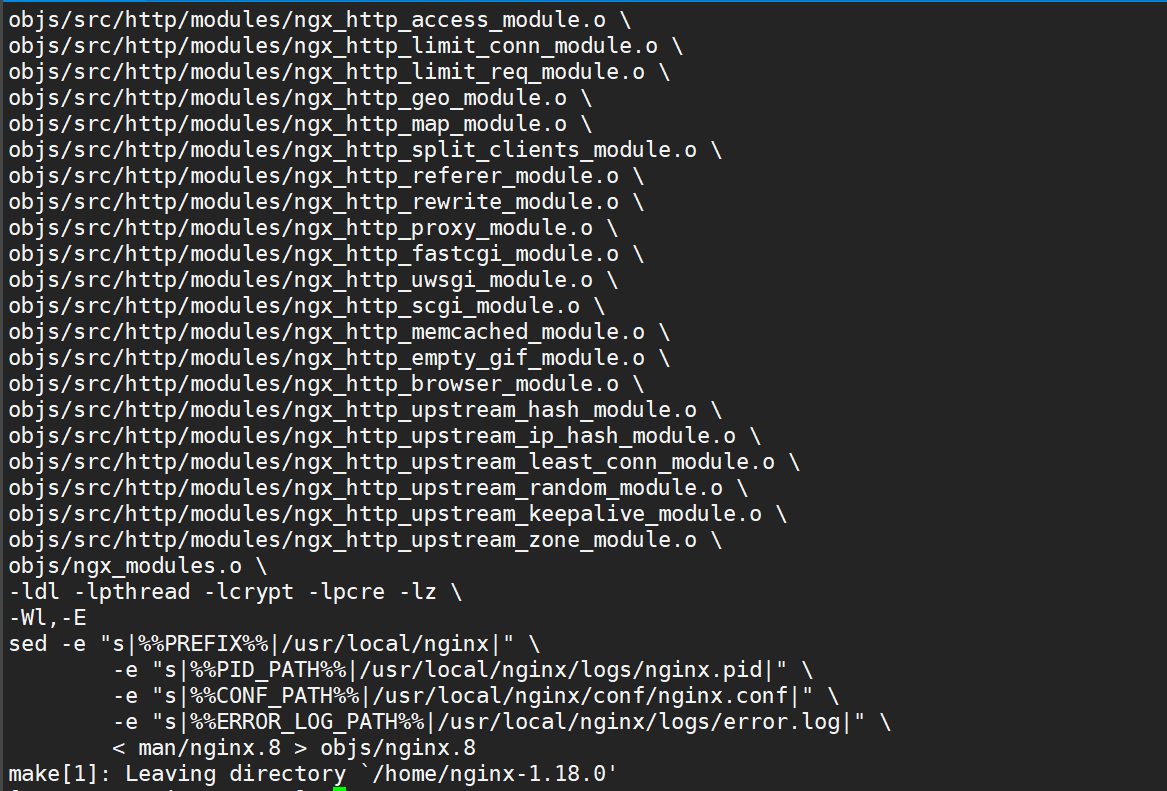
然后执行
make
命令
第三步:
make install
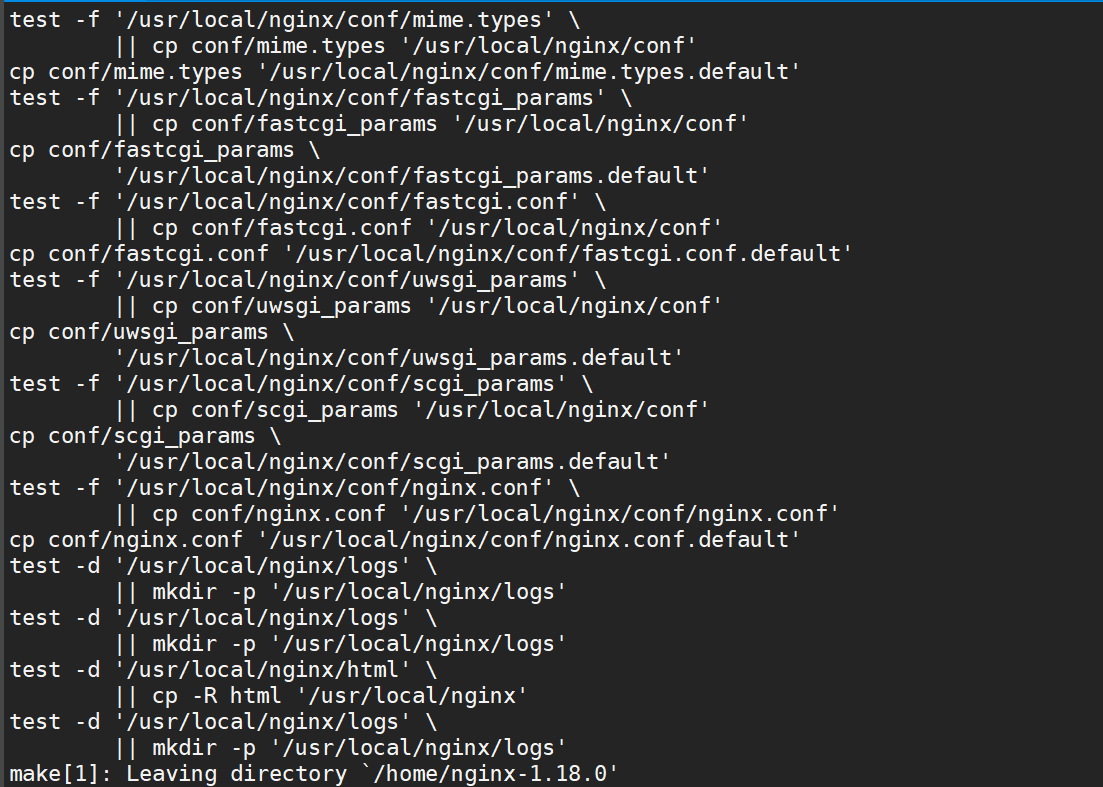
最后执行
make install
命令
4. 启动
安装完成后,我们用
whereis
命令查找
nginx
文件
[ root@zsr nginx-1.18.0]
nginx: /usr/bin/nginx /usr/local/nginx
然后我们进入到
/usr/local/nginx
目录,可以查看到相关文件
[ root@zsr nginx-1.18.0]
[ root@zsr nginx]
conf html logs sbin
我们再进入到
/sbin
目录,可以看到
nginx
可执行程序,我们直接执行进行启动
[ root@zsr conf]
[ root@zsr sbin]
nginx
[ root@zsr sbin]
nginx: [ emerg] bind( ) to 0.0.0.0:80 failed ( 98: Address already in use)
nginx: [ emerg] bind( ) to 0.0.0.0:80 failed ( 98: Address already in use)
nginx: [ emerg] bind( ) to 0.0.0.0:80 failed ( 98: Address already in use)
nginx: [ emerg] bind( ) to 0.0.0.0:80 failed ( 98: Address already in use)
nginx: [ emerg] bind( ) to 0.0.0.0:80 failed ( 98: Address already in use)
nginx: [ emerg] still could not bind( )
可以看到这里报错了,这是因为端口占用的问题,nginx默认80端口启动,我们可以查以下
80
端口的占用情况
COMMAND PID USER FD TYPE DEVICE SIZE/OFF NODE NAME
AliYunDun 1179 root 22u IPv4 17524 0t0 TCP iZ2ze3zdx4jq8v6hetjjuxZ:39786-> 100.100.30.25:http ( ESTABLISHED)
nginx 11106 root 11u IPv4 206832 0t0 TCP *:http ( LISTEN)
nginx 11107 www 11u IPv4 206832 0t0 TCP *:http ( LISTEN)
可以看到被三个进程占用,这时我们可以结束这三个进程,也可以通过修改配置文件修改
nginx
的启动端口
这里我们修改默认的80端口,修改nginx目录下的
/conf/nginx_conf
文件,这里修改为 90 端口
[ root@zsr conf]
fastcgi.conf fastcgi_params.default mime.types nginx.conf.default uwsgi_params
fastcgi.conf.default koi-utf mime.types.default scgi_params uwsgi_params.default
fastcgi_params koi-win nginx.conf scgi_params.default win-utf
[ root@zsr conf]
[ root@zsr conf]
[ root@zsr sbin]
没有任何返回信息则代表启动成功,我们通过服务器的
公网IP:90
访问测试,记得要打开阿里云ECS安全组的90端口以及防火墙的90端口!
firewall-cmd --permanent --add-port= 90/tcp
firewall-cmd --reload
然后便可访问,出现如下结果则成功